
the save the dates are finished!!!!! jonathan and i stuffed and addressed them ALL, and now all that is left to do is put them in the mail. i think you're supposed to send those guys out somewhere between 4 and 6 months from the wedding, and tomorrow (the 26th) will be exactly 4 months. that's good, right? i would put up the finished product, but i kind of want them to be a surprise to the people receiving them. i will probably put up a picture next week, if i remember... ha.
so now that those are out of the way, it's time to work on the actual invitations! i am really excited about them! i have some ideas, and hopefully i can start playing around with them next weekend. here are some of my ispirations...
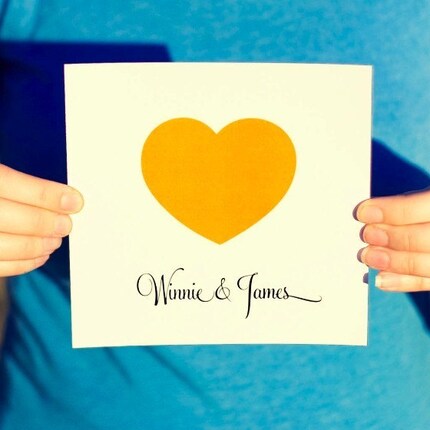
{via Ello There's etsy shop}

{via blanchucha's etsy shop}


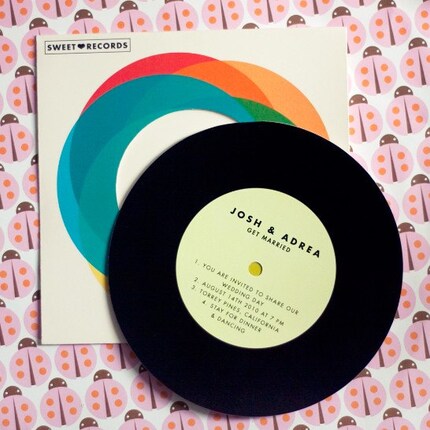
{via rifle paper co.}

{via She&Him's website}

{via hello lucky}

{via designsponge}
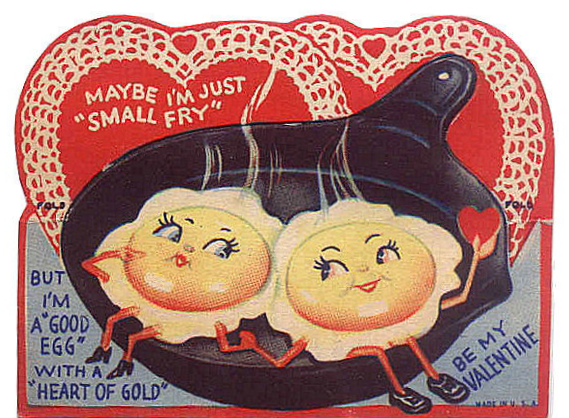
and, these aren't really an option, but i think they are soooooooo cute!
{via Ello There's etsy shop}
so there you have it. can you see my vision??? yeah, its actually not that clear to me either. which is why i am so excited to start fiddling with it!
well, have a wonderful evening, or day, or morning, or whatever. i am going to watch some women's figure skating and then hit the sack, nighty night!
bisous!
xoxoxo


